
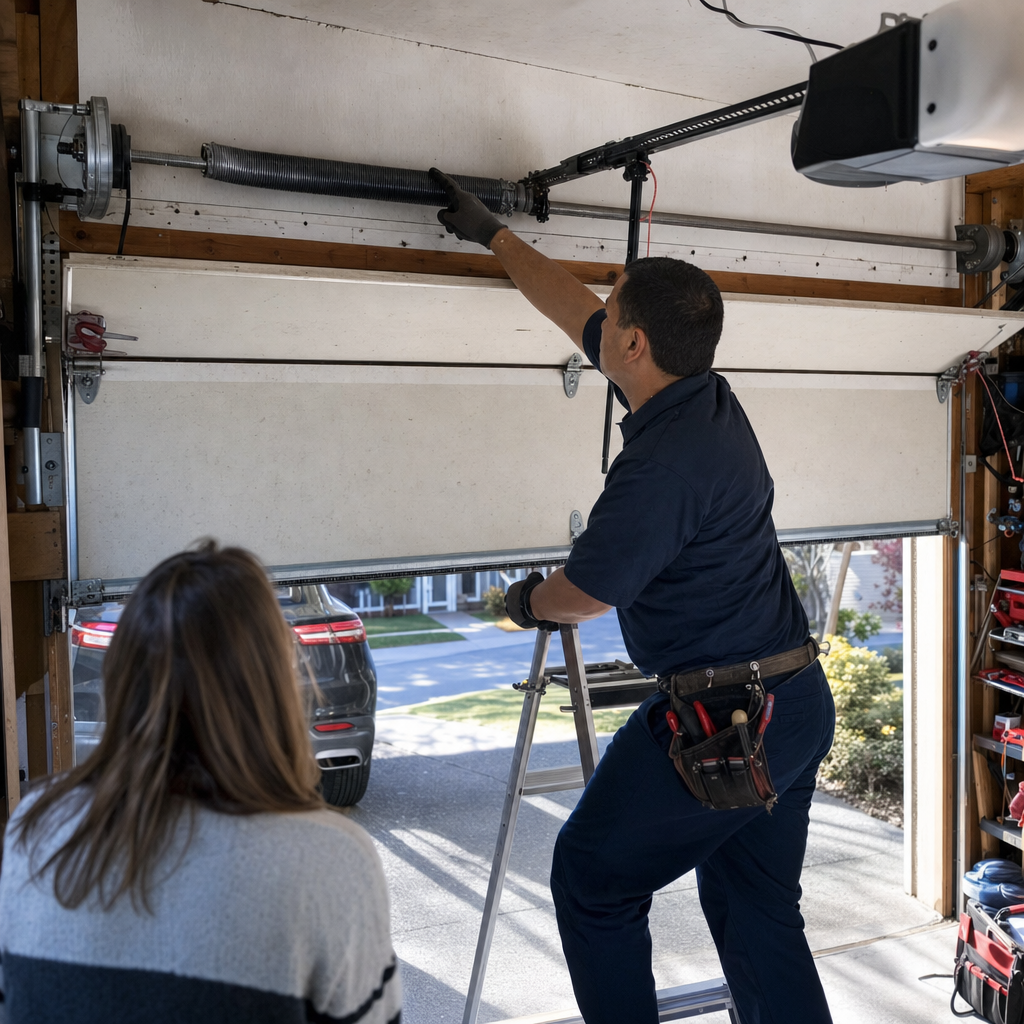
Why Your Garage Door Won’t Close in Connecticut — And the 90-Second Fix Most Homeowners Miss
If your garage door won’t close, the culprit is almost always the photoelectric safety sensors — specifically, a blinking LED on one sensor that signals misalignment, dirt, or something blocking the beam. In Connecticut, where January slush and February ice buildup are routine, we’ve found that roughly half of all “won’t close” calls resolve with nothing more than clearing frozen debris from the sensor lens or realigning the brackets after a snowblower bump. Before you call anyone, look at the sensor lights: one blinking and one solid means a 90-second fix you can handle yourself. Both solid green but the door still reverses? That’s when the problem moves deeper into the opener system — and that’s when you need Garage Door Repair from a technician who can read the circuit board, not just swap parts.
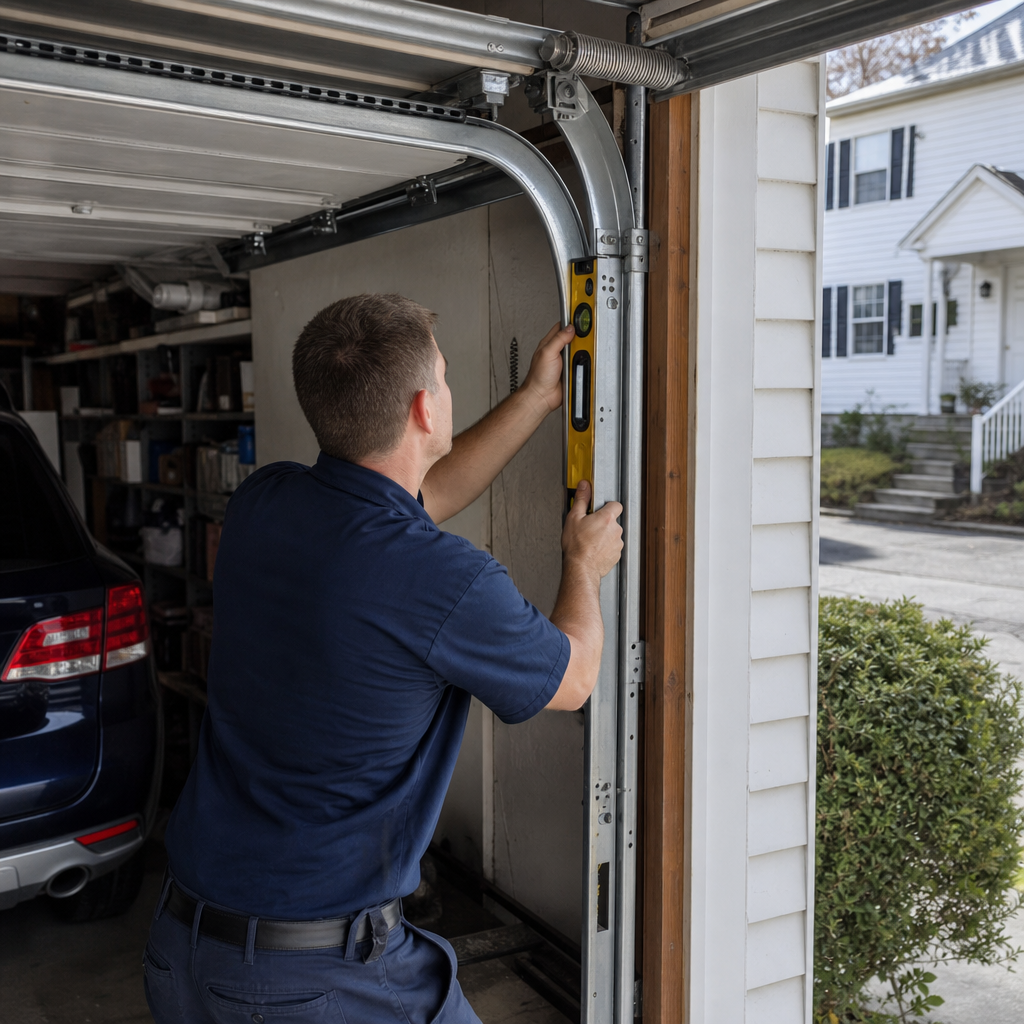
We handle these calls across Connecticut every week, from the older Cape-style homes in Wethersfield with low-clearance openers to the newer construction in Stamford where builders sometimes skimp on sensor bracket rigidity. Daniel Lopez, Owner & Lead Technician at Guardian Garage Door Repair Connecticut, has been sorting these exact scenarios for 17 years — and he’s built a simple diagnostic tree that saves most homeowners an unnecessary service fee. Here’s how to work through it.
The Sensor LED Decision Tree: Read Your Lights First
Every modern garage door opener manufactured after 1993 has two small photoelectric sensors, usually mounted 4–6 inches off the floor on either side of the door track. Each has an LED indicator. Those lights tell you exactly where to look — if you know the code.
One Blinking, One Solid: Misalignment or Obstruction
This is the big one. A blinking LED means that sensor can’t “see” its partner. The fix is usually mechanical, not electrical.
- Check for physical blockage: a leaf, a snow mound, a storage bin shifted against the track, or — in Connecticut winters — ice that formed overnight and partially covers the lens
- Wipe both lenses with a dry cloth; road salt spray from wet tires crystallizes on the housing and scatters the infrared beam
- Loosen the wing nut on the blinking sensor’s bracket, adjust until both LEDs glow steady, then retighten
- If the bracket itself is loose or bent (common after snowblower contact or kids kicking equipment), hand-tighten or replace the bracket — we stock universal brackets that fit LiftMaster, Chamberlain, and Genie systems
That adjustment takes about 90 seconds. If both sensors now show solid green and the door closes normally, you’re done. We’ve had customers in New Britain and Bristol call us out for this exact fix, and while we’re happy to help, we’d rather you keep the service fee in your pocket.
Both LEDs Off: Power or Wiring Fault
No lights means no power reaching the sensors. Trace the thin white-and-black wires from each sensor back to the opener motor unit — they’re usually stapled to the wall or ceiling. Look for:
- A staple or nail that pierced the wire (common in unfinished garages where installers got aggressive with fastening)
- A disconnected terminal at the motor head — vibration from daily operation works these loose over years
- A failed transformer inside the opener that’s no longer sending low-voltage power to the sensor circuit
If the wiring looks intact and connected, the issue is likely on the logic board — and that’s where we draw the DIY line. Logic board diagnostics require testing voltage at specific terminals, and the board itself runs $120–$280 plus labor. Daniel handles these personally; he’s replaced enough of them on 10–15 year old LiftMaster and Genie units to know when a board swap makes sense versus when the whole opener is approaching replacement territory.
Both Solid Green, Door Still Won’t Close: Look Past the Sensors
This is where competitors often burn hours swapping parts that test fine. If the sensors are aligned and powered but the door reverses immediately or travels partway down then returns, the problem is elsewhere in the control system. Learn more about Why Does my Garage Door Reverse? (Connecticut, CT).
The wall-button diagnostic: Press and hold the hardwired wall button continuously. If the door closes fully while you’re holding it but won’t close with a brief press or remote command, you’ve confirmed the safety sensor circuit is triggering the reversal — even though the LEDs look correct. This usually means:
- Intermittent wire break in the sensor loop that opens under vibration but shows continuity when static
- Logic board interpreting a marginal signal as blocked — common as boards age and capacitor values drift
- Sunlight interference: in south-facing garages across Connecticut, intense winter sun at low angles can overwhelm the infrared receiver; a simple cardboard shield or reversing the sensor orientation fixes this
If the door still won’t close even with the wall button held continuously, the sensor circuit is ruled out. Now we’re looking at mechanical or limit-setting issues.
Connecticut-Specific Scenarios We See Every Winter
Our climate creates failure patterns that technicians in warmer states simply don’t encounter. Here are the three “won’t close” calls that spike from December through March:
Snow and ice accumulation: The single most common winter call Daniel gets — from Manchester to Meriden to Milford — is a door that worked fine at 6 PM but won’t close at 10 PM after temperatures dropped and slush refroze across the garage floor. The sensor beam passes roughly 6 inches above the concrete; a ridge of packed snow or a frozen puddle blocks it cleanly. We keep a push broom in the truck specifically to demonstrate this to homeowners, because it’s that simple and that common. Check this first on any January morning.
Track contraction and roller binding: Steel tracks contract in cold weather. In unheated garages attached to older Connecticut homes — the kind with minimal insulation common in Hartford’s Frog Hollow neighborhood where Daniel grew up — we’ve seen tracks pull enough to bind rollers at the curve section. The opener detects the resistance and reverses, mimicking a sensor issue. A quick track spacing adjustment and roller lubrication resolves it; we carry nylon rollers that handle temperature swings better than the steel originals.
Remote range collapse in cold batteries: Not technically a “won’t close” issue, but homeowners confuse it with one. Cold reduces lithium battery output; a remote that works from the driveway in September needs to be held against the windshield in January. If the wall button closes the door but the remote won’t, swap the CR2032 battery before calling anyone.
The Mechanical Causes Competitors Miss
When sensors are ruled out, these three issues account for most remaining “won’t close” cases — and two of them are misdiagnosed regularly by less experienced techs.
Misadjusted Down-Limit Setting
The opener’s limit switches tell it how far to travel before declaring the door “closed.” If the down-limit is set too aggressively — or if the door’s actual closed position has shifted due to spring stretch or cable wear — the opener thinks it’s already at the floor when the door is still 6 inches up. It stops and reverses, or simply sits there humming.
The limit adjustment screw on most Chamberlain and LiftMaster chain-drive units allows roughly ¼ turn of correction without risking overtravel. Beyond that, the underlying cause needs addressing: worn springs that no longer balance the door properly, or cables that have stretched unevenly. Daniel checks spring tension on every limit-adjustment call, because adjusting the opener to compensate for a failing spring just burns out the motor. Spring repair runs $180–$340 in Connecticut; ignoring it costs you an opener replacement at $250–$550.
Worn Travel Module on Older LiftMaster Units
LiftMaster openers from the late 2000s through mid-2010s use a plastic travel module that counts revolutions of the drive gear to track door position. The module’s internal contacts wear, causing erratic behavior: the door may stop short, reverse randomly, or refuse to close entirely. The module costs $45–$85; diagnosis takes about 10 minutes with the cover off. We’ve replaced dozens of these in Farmington and Glastonbury homes where previous techs had quoted full opener replacements.
Logic Board Fault Mimicking Sensor Failure
This is the expensive one to get wrong. A failing logic board can present exactly like a sensor issue: door reverses, LEDs look fine, wall-button hold test is inconclusive. The difference is that sensor problems are intermittent or environmental; board faults are progressive and predictable. Daniel tests signal voltage at the sensor terminals under load — a $15 multimeter check that separates real sensor failure from board interpretation error. If the board’s sensor input circuit is drifting, replacement is the only fix. We source OEM boards for Genie, LiftMaster, and Chamberlain units; aftermarket boards save $30–$50 but we’ve seen compatibility issues that cost more in callbacks than they save upfront.
“If I wouldn’t put it on my own garage, I’m not going to sell it to you.” That’s the standard Daniel applies to every part recommendation.
DIY vs. Call Daniel: Where to Draw the Line
We’re not interested in charging you for work you can safely handle yourself. Here’s the breakdown:
| Issue | DIY or Pro? | Why |
|---|---|---|
| Dirty or misaligned sensors | DIY | No tools beyond a cloth and possibly a screwdriver; zero injury risk |
| Sensor bracket replacement | DIY (with parts) | We stock universal brackets; 10-minute job with a drill |
| Limit screw adjustment ≤¼ turn | DIY (carefully) | Document original position first; small adjustments only |
| Logic board replacement | Professional | Electrical testing required; incorrect installation risks motor damage |
| Spring or cable work | Professional — mandatory | Torsion springs store lethal energy; cable release can cause serious injury |
| Track realignment or roller replacement | Professional | Door weight and spring tension make this hazardous without proper tools |
The spring caveat deserves emphasis. A standard 16×7 steel garage door weighs 150–200 pounds; the torsion spring system offsets that weight so the opener only lifts 10–15 pounds. If you disconnect the opener or release spring tension without the correct winding bars and training, the door can drop or the spring can unwind violently. Daniel learned proper spring handling through the mechanical systems program at Hartford’s Howell Cheney Technical High School, followed by years of supervised field work. This isn’t a YouTube tutorial situation.
What This Repair Costs in Connecticut
When the fix requires a technician, here’s what Connecticut homeowners typically pay:
- Sensor realignment or cleaning: Often no charge if that’s the sole issue — we’ll show you how to handle it yourself next time
- Sensor replacement (pair, wired): $120–$220 including labor
- Logic board replacement: $280–$480 depending on opener brand and board availability
- Travel module replacement: $165–$265
- Spring repair (if underlying cause): $180–$340
- Full opener replacement: $250–$550 for standard chain/belt drive units
We don’t charge diagnostic fees when you proceed with the repair — the assessment is built into the job. Emergency Garage Door Repair in Connecticut, CT is available for situations where the door is stuck open overnight or you’re unable to secure the home; we don’t shut down when homeowners get locked out after hours.
Guardian Garage Door Repair Connecticut carries parts for the brands you actually own: LiftMaster, Chamberlain, Genie, Clopay, Amarr, Wayne Dalton, Craftsman, and Raynor. Daniel handles every service call himself — no dispatched strangers, no subcontractor roulette. Garage Door Repair in Connecticut is our core service, and “won’t close” diagnostics are what we’ve built our reputation on across 526 verified reviews averaging 4.8 stars.
FAQs
Most “won’t close” repairs in Connecticut fall between $120 and $340, with sensor-related fixes at the lower end and logic board replacements at the higher end. If the issue is simply misaligned or dirty sensors, we often resolve it during a brief visit with no charge — we’d rather earn your trust for future work than bill you for 90 seconds with a cloth. Call (855) 483-0709 for an exact quote; estimates are free.
Yes — pull the red emergency release cord hanging from the opener trolley to disengage the motor, then lift or lower the door by hand. If the door feels extremely heavy or won’t stay open at waist height, the spring system is compromised and you should stop immediately; operating a door with failed springs risks injury and further damage. For a temporary workaround with a suspected sensor issue, press and hold the hardwired wall button continuously — this overrides the safety circuit and lets the motor close the door while you’re physically present. Call (855) 483-0709 if the door feels wrong when moved manually; that’s not a DIY fix.
Partial travel followed by reversal almost always means the opener is detecting resistance — either from misaligned safety sensors, a physical obstruction in the track, or a force setting that’s too sensitive for seasonal conditions. In Connecticut winters, we’ve seen this triggered by stiffened grease in the rollers, contracted tracks, or ice in the bottom weather seal. Check the sensor LEDs first; if both are solid, inspect the track for debris and test whether the door moves smoothly by hand with the opener disengaged. If manual movement also feels rough, the problem is mechanical — likely track alignment or spring balance — and that’s when you need a technician. Call (855) 483-0709 for same-day assessment.
Repair is usually cheaper if the opener is under 10 years old and the issue is isolated to sensors, limit settings, or the travel module — typically $120–$340 versus $250–$550 for replacement. Replacement makes more sense when the unit is 12+ years old, has a failed logic board on a discontinued model, or has needed multiple repairs in two years. Daniel evaluates this honestly on every call; he’s talked homeowners out of replacement when a $45 part would suffice, and he’s recommended replacement when a $280 board swap would only extend a failing unit by a year or two. Call (855) 483-0709 for a no-pressure assessment.
When to Call Guardian Garage Door Repair Connecticut
If you’ve worked through the sensor checks, confirmed the door moves freely by hand, and still can’t identify the cause, the problem has moved into territory where experience saves money. Daniel Lopez has spent 17 years tracing these exact faults across every residential brand on the market — from the latest belt-drive Chamberlain units to Genie screw-drive openers that have been humming along since the early 2000s. He brings the decision-maker to your garage, not a trainee with a parts catalog.
Guardian Garage Door Repair Connecticut offers the Best Garage Door Repair in Connecticut, CT for urgent situations — because a door stuck open at 9 PM in February isn’t a tomorrow problem. If you’d rather have it looked at, we offer a no-pressure assessment in Connecticut. Call (855) 483-0709 for a free estimate.
Written by Daniel Lopez, Owner & Lead Technician at Guardian Garage Door Repair Connecticut, serving Connecticut, CT.